
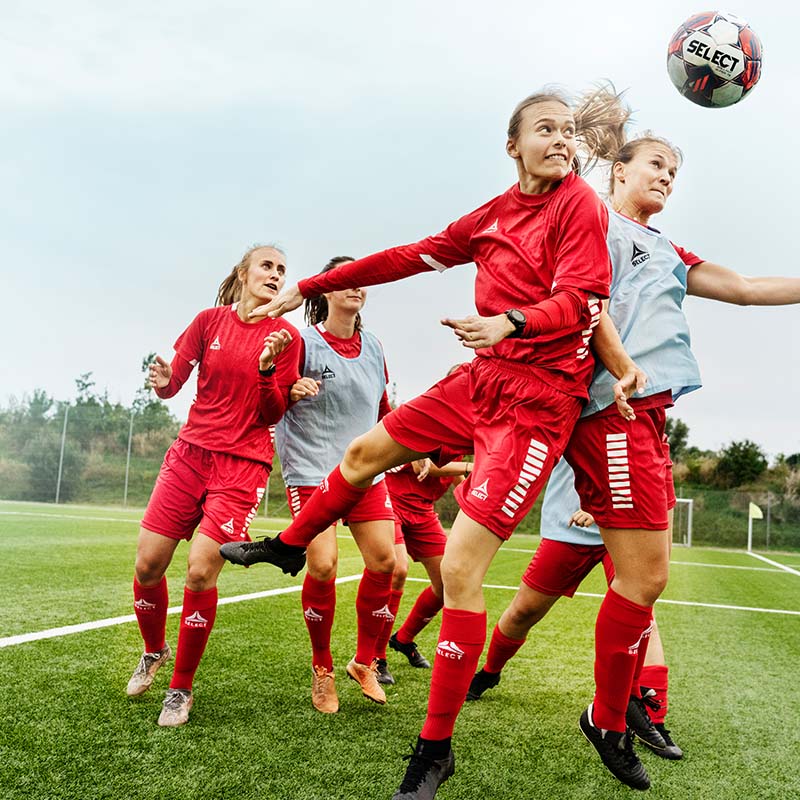


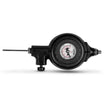


A PROFCARE Balance Board is a simple but highly effective training tool.
Whether it is preventive training or rehabilitation after injuries in ankles or knees,
a balance board is the optimal choice.
Read here how to train with the balance board.
When you are injured, your coordination ability is weakened. This means that cooperation between nerves, muscles and joints are not functioning optimally. By trainingon the balance board this ability can be regained, so that coordination training should begin while the normal training resumes. After an injury you should train on the balance board 5-10 minutes daily for a least 6 months. When rehabilitation is complete, you may want to continue training on the balance board to prevent future injuries.
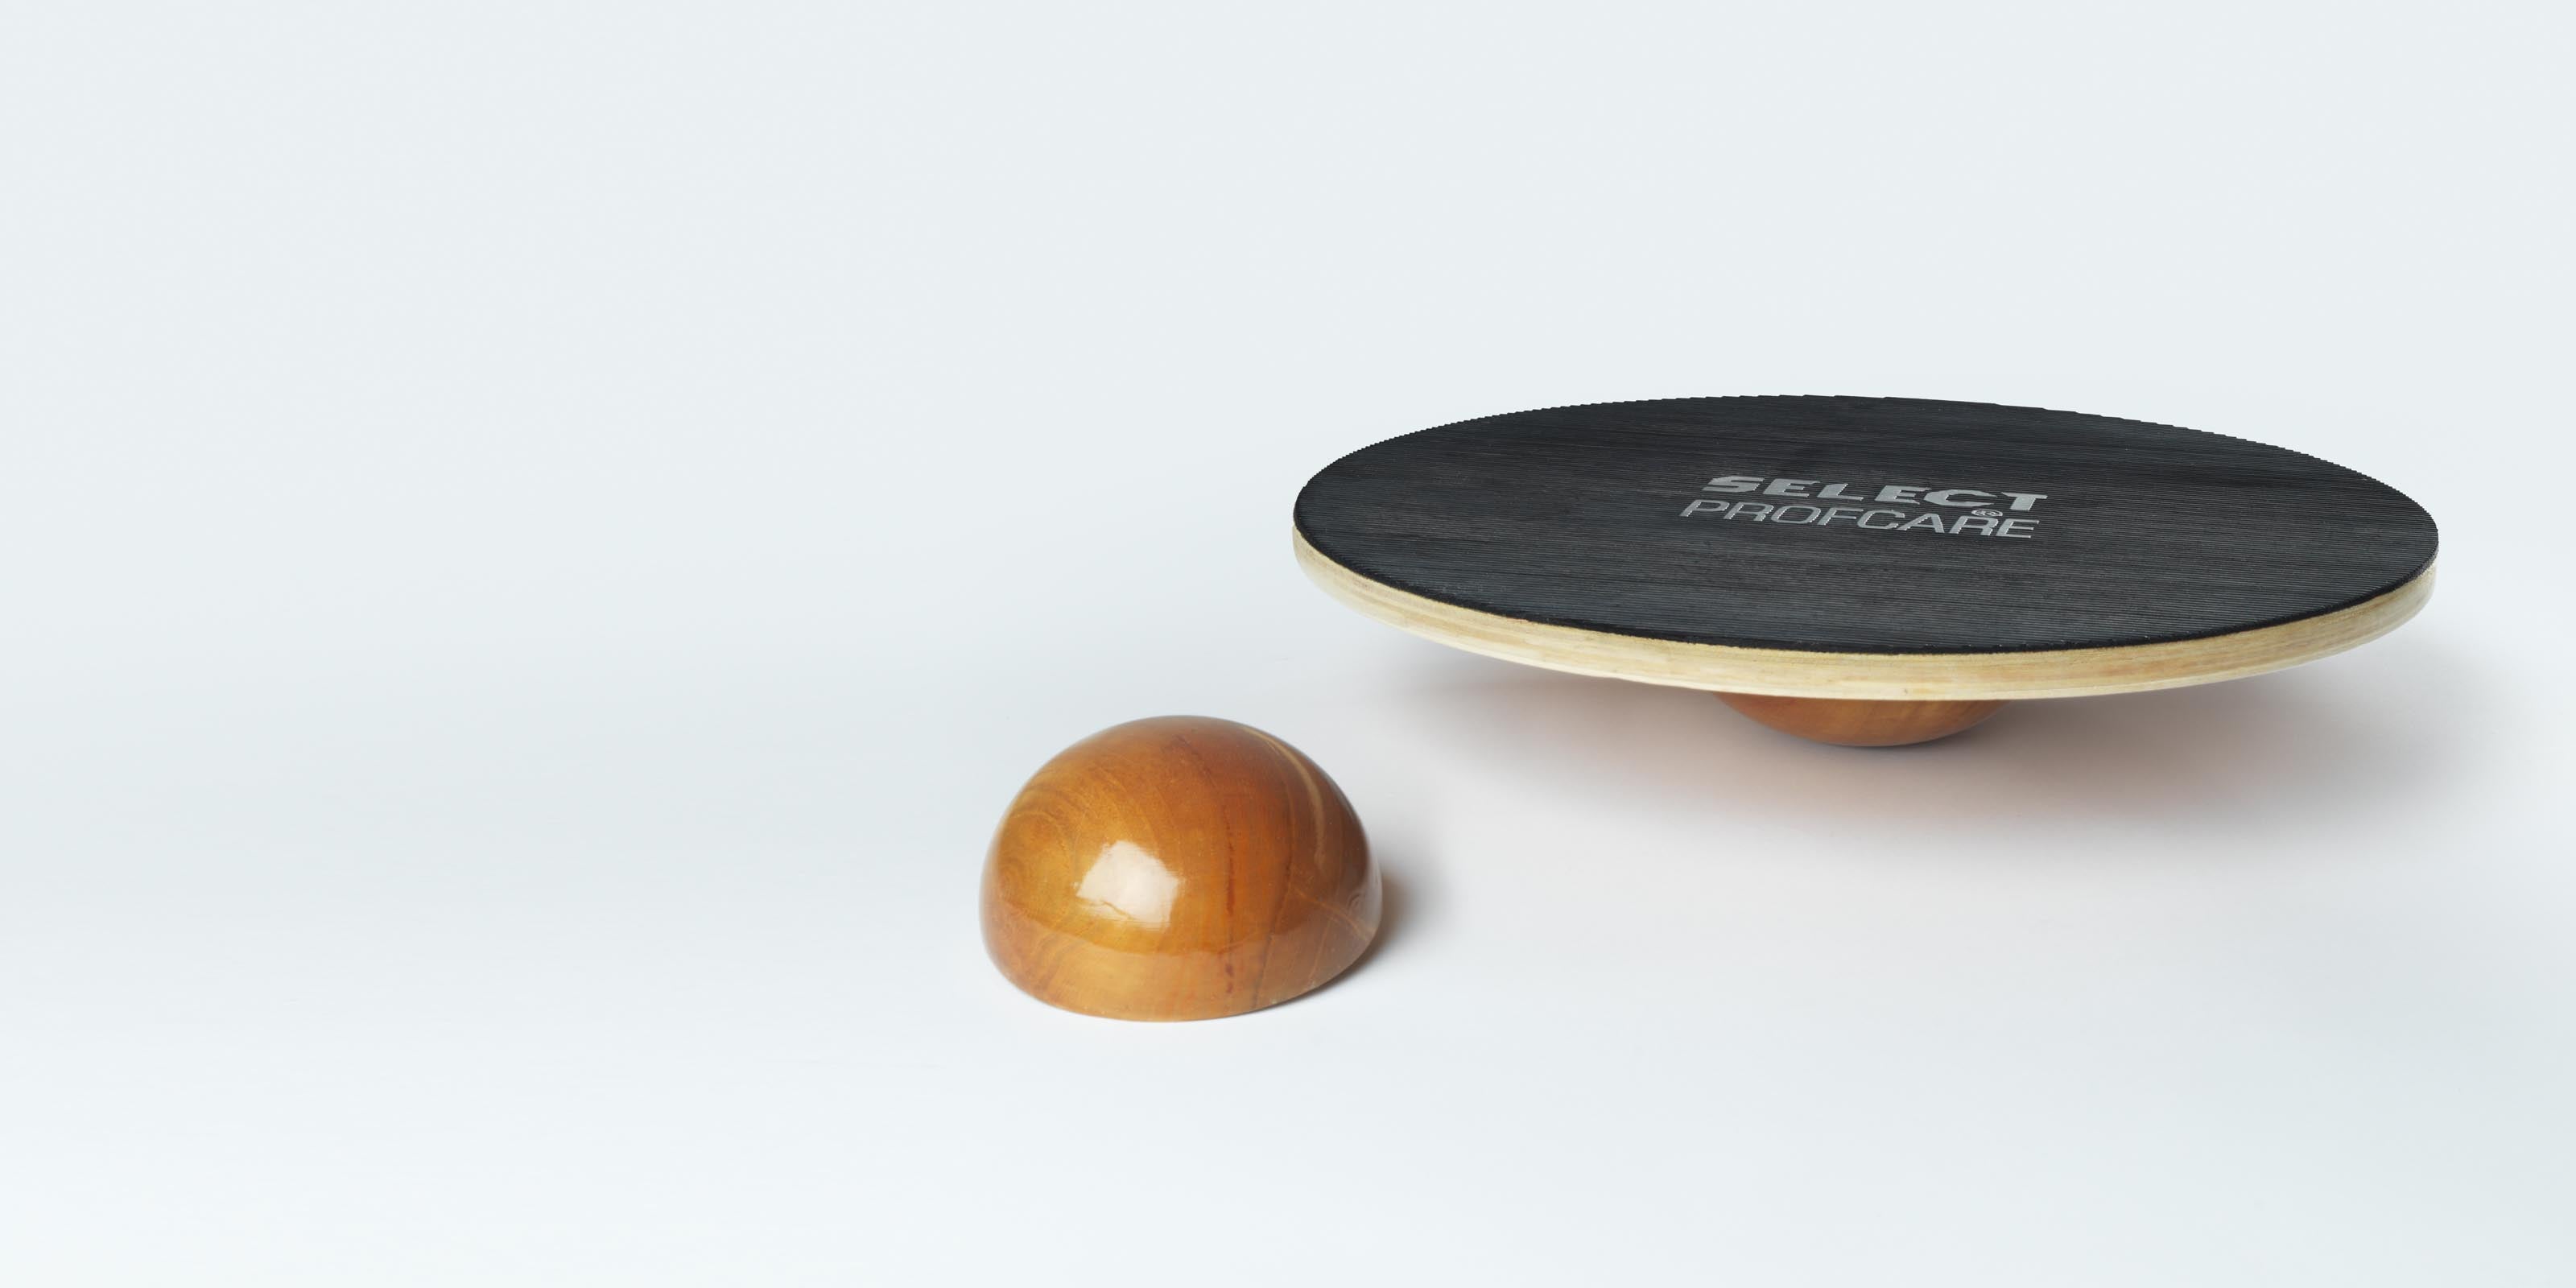
Training on tow-in-one balance board
With the two-in-one balance board, you have a useful training tool whatever your current level is. You should start with the big, slow ball and then build up your balance and coordination. When you feel that the board is moving too slowly in relation to you level, you just switch to the small and faster ball.
Get the movement back into the joints
Strengthen the muscles
Improve the coordination
Achieve better balance and minimize the risk of injury
4 balance board exercises
These exercises are designed specifically towards ankle / foot / knee injuries or as a basis targeted the best possible pre-conditions within high dynamic sport
categories. Exercise is for everyone at every level of the game – control and concentration is crucial. Balance, strength, mobility and coordination is keywords. Exercises will be based on failure and repetitions.
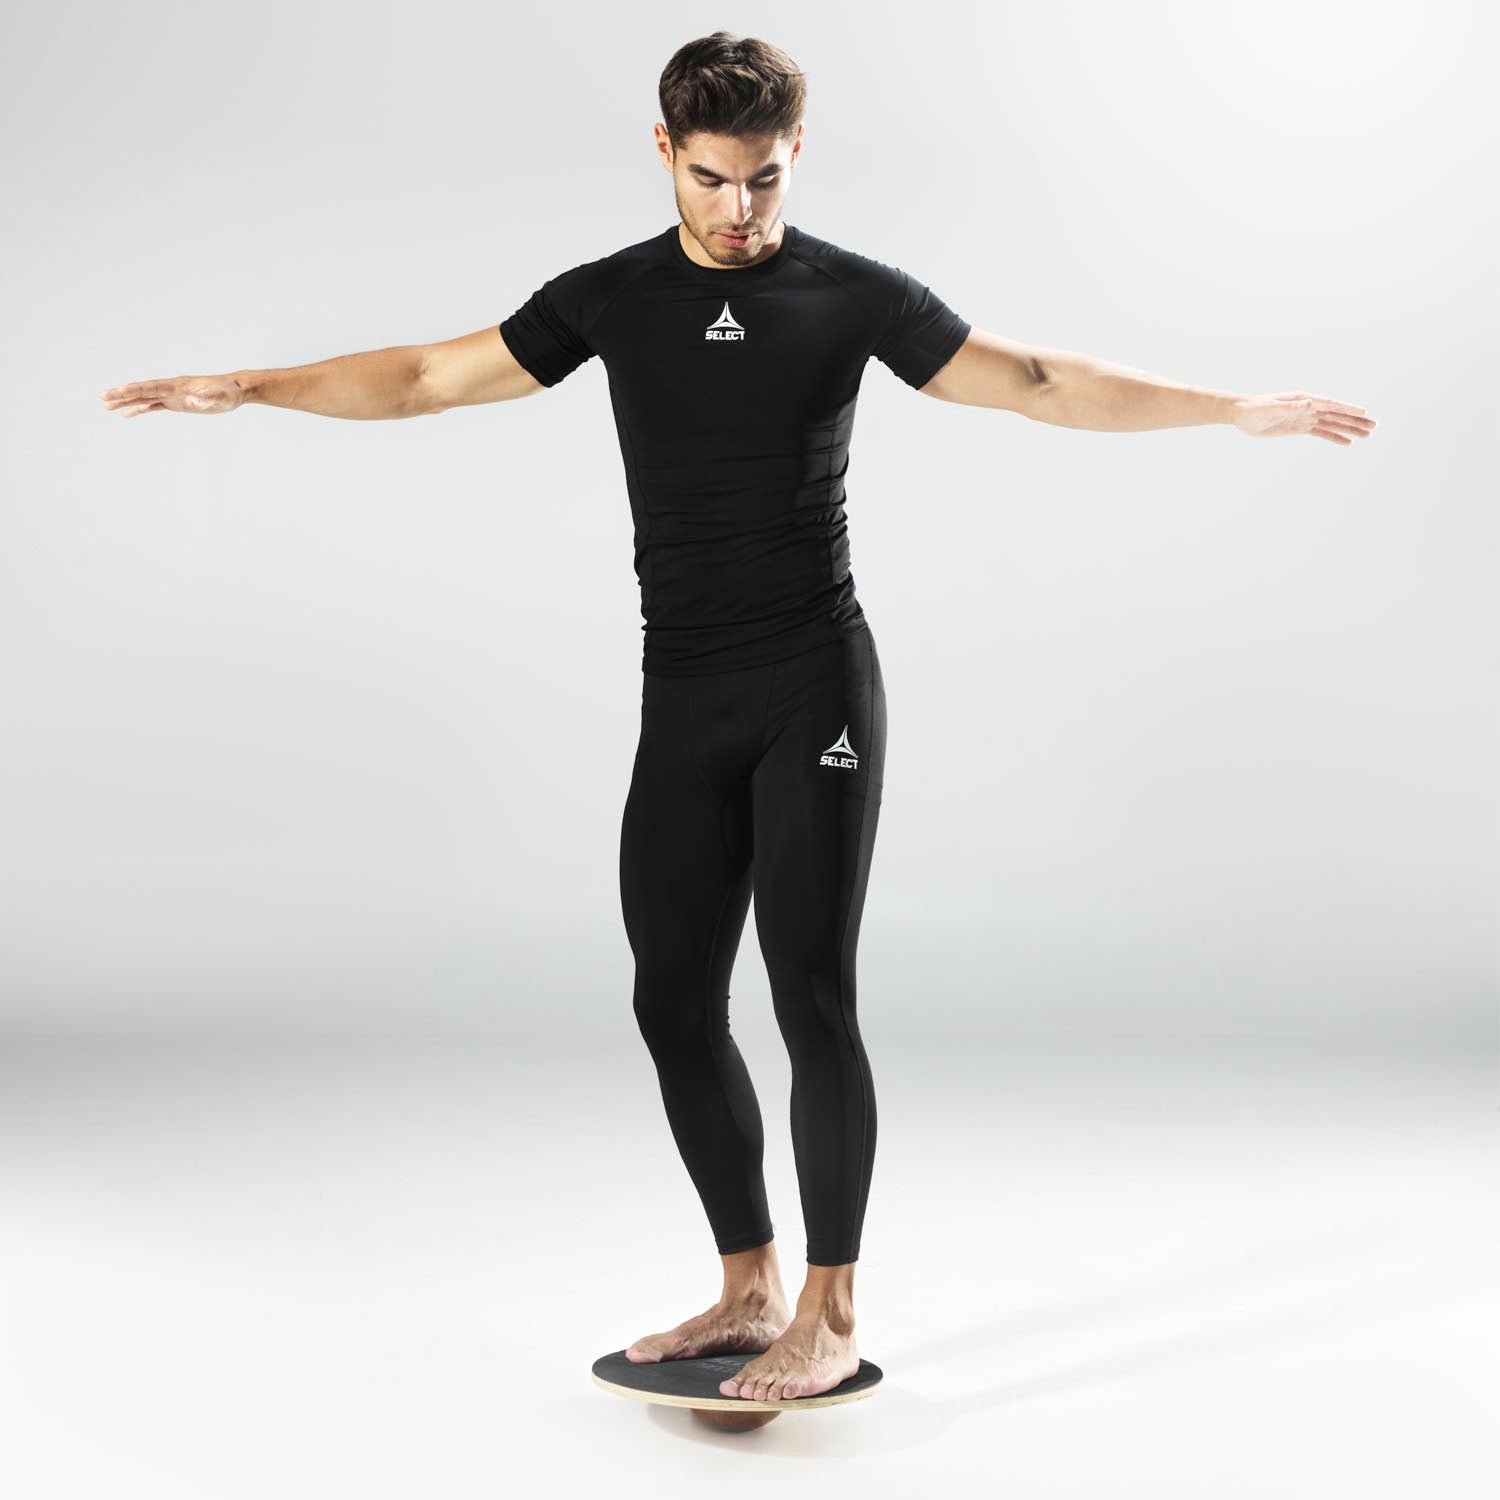
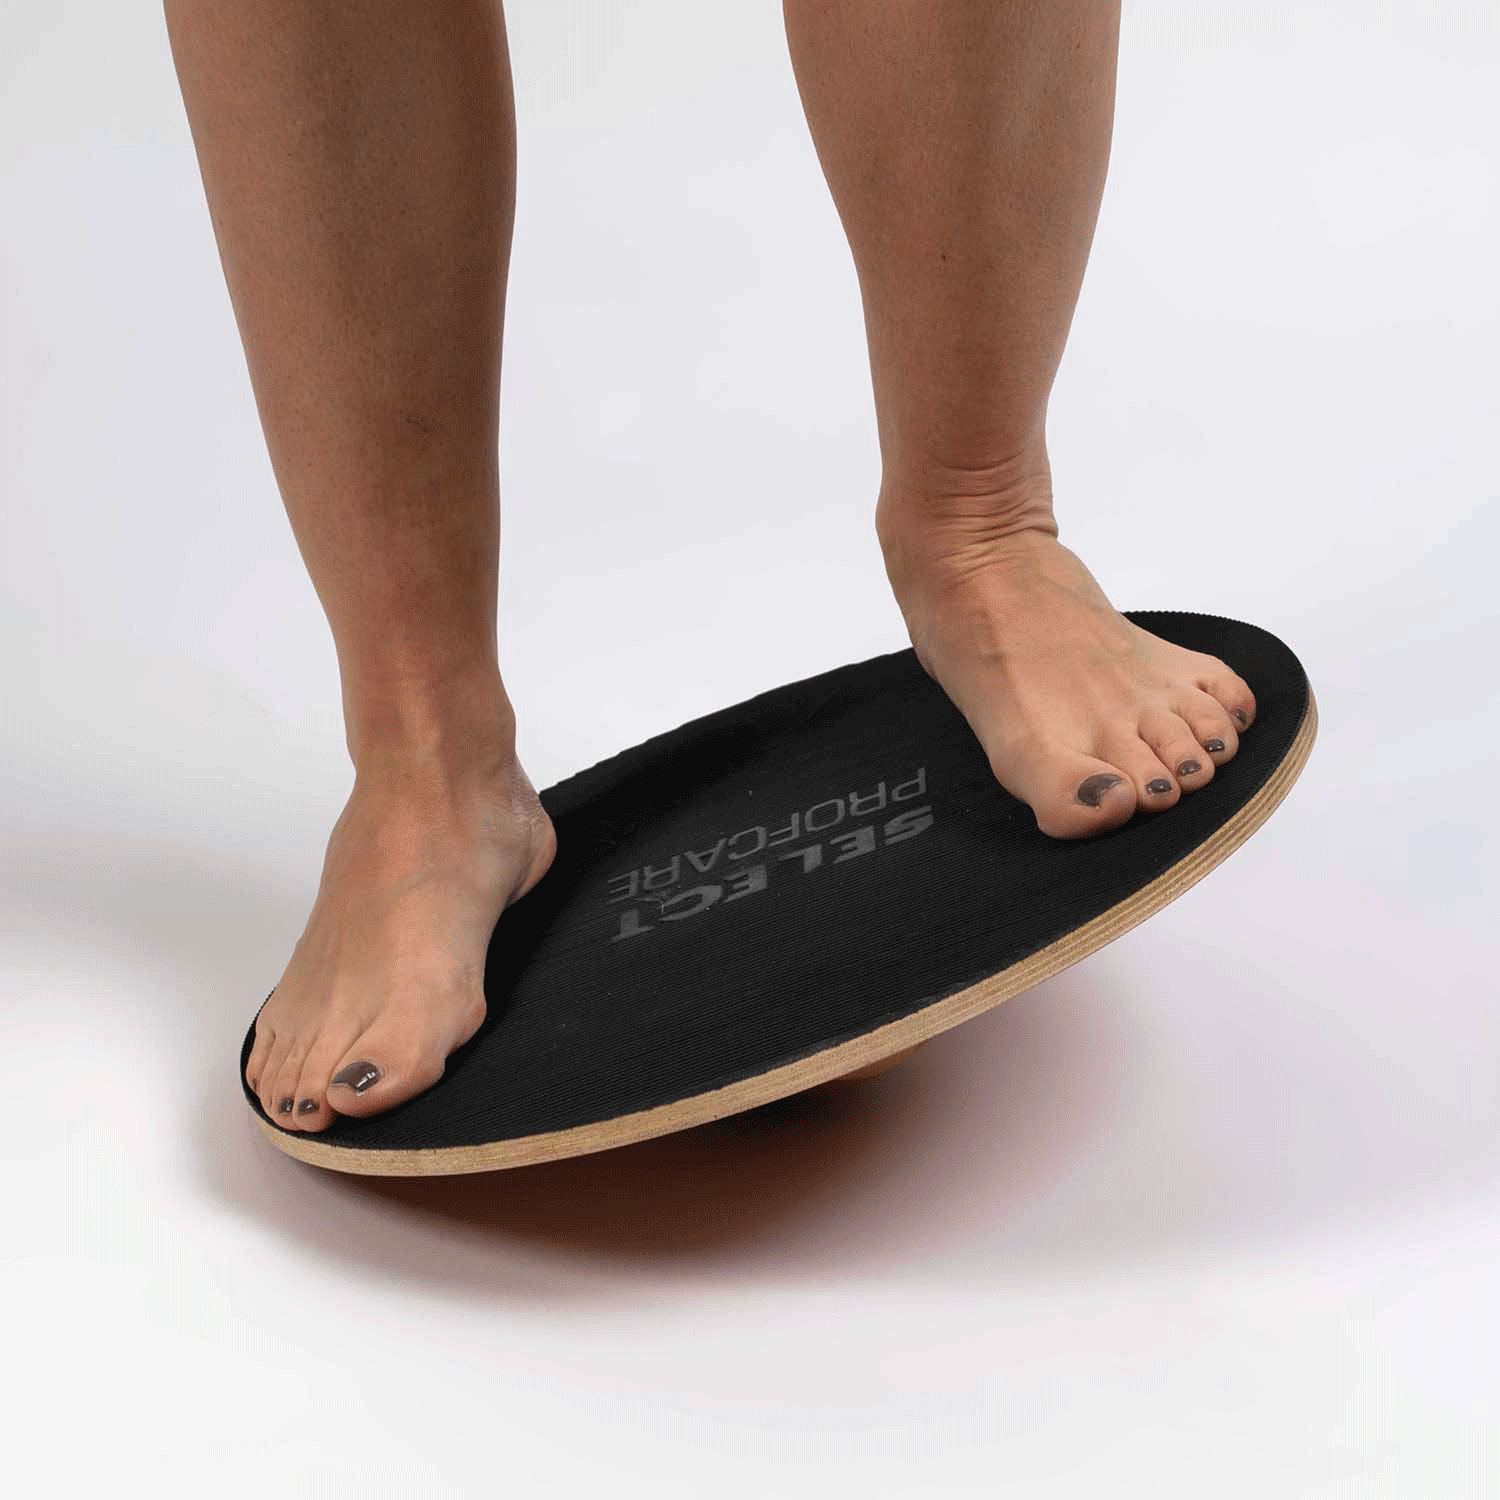
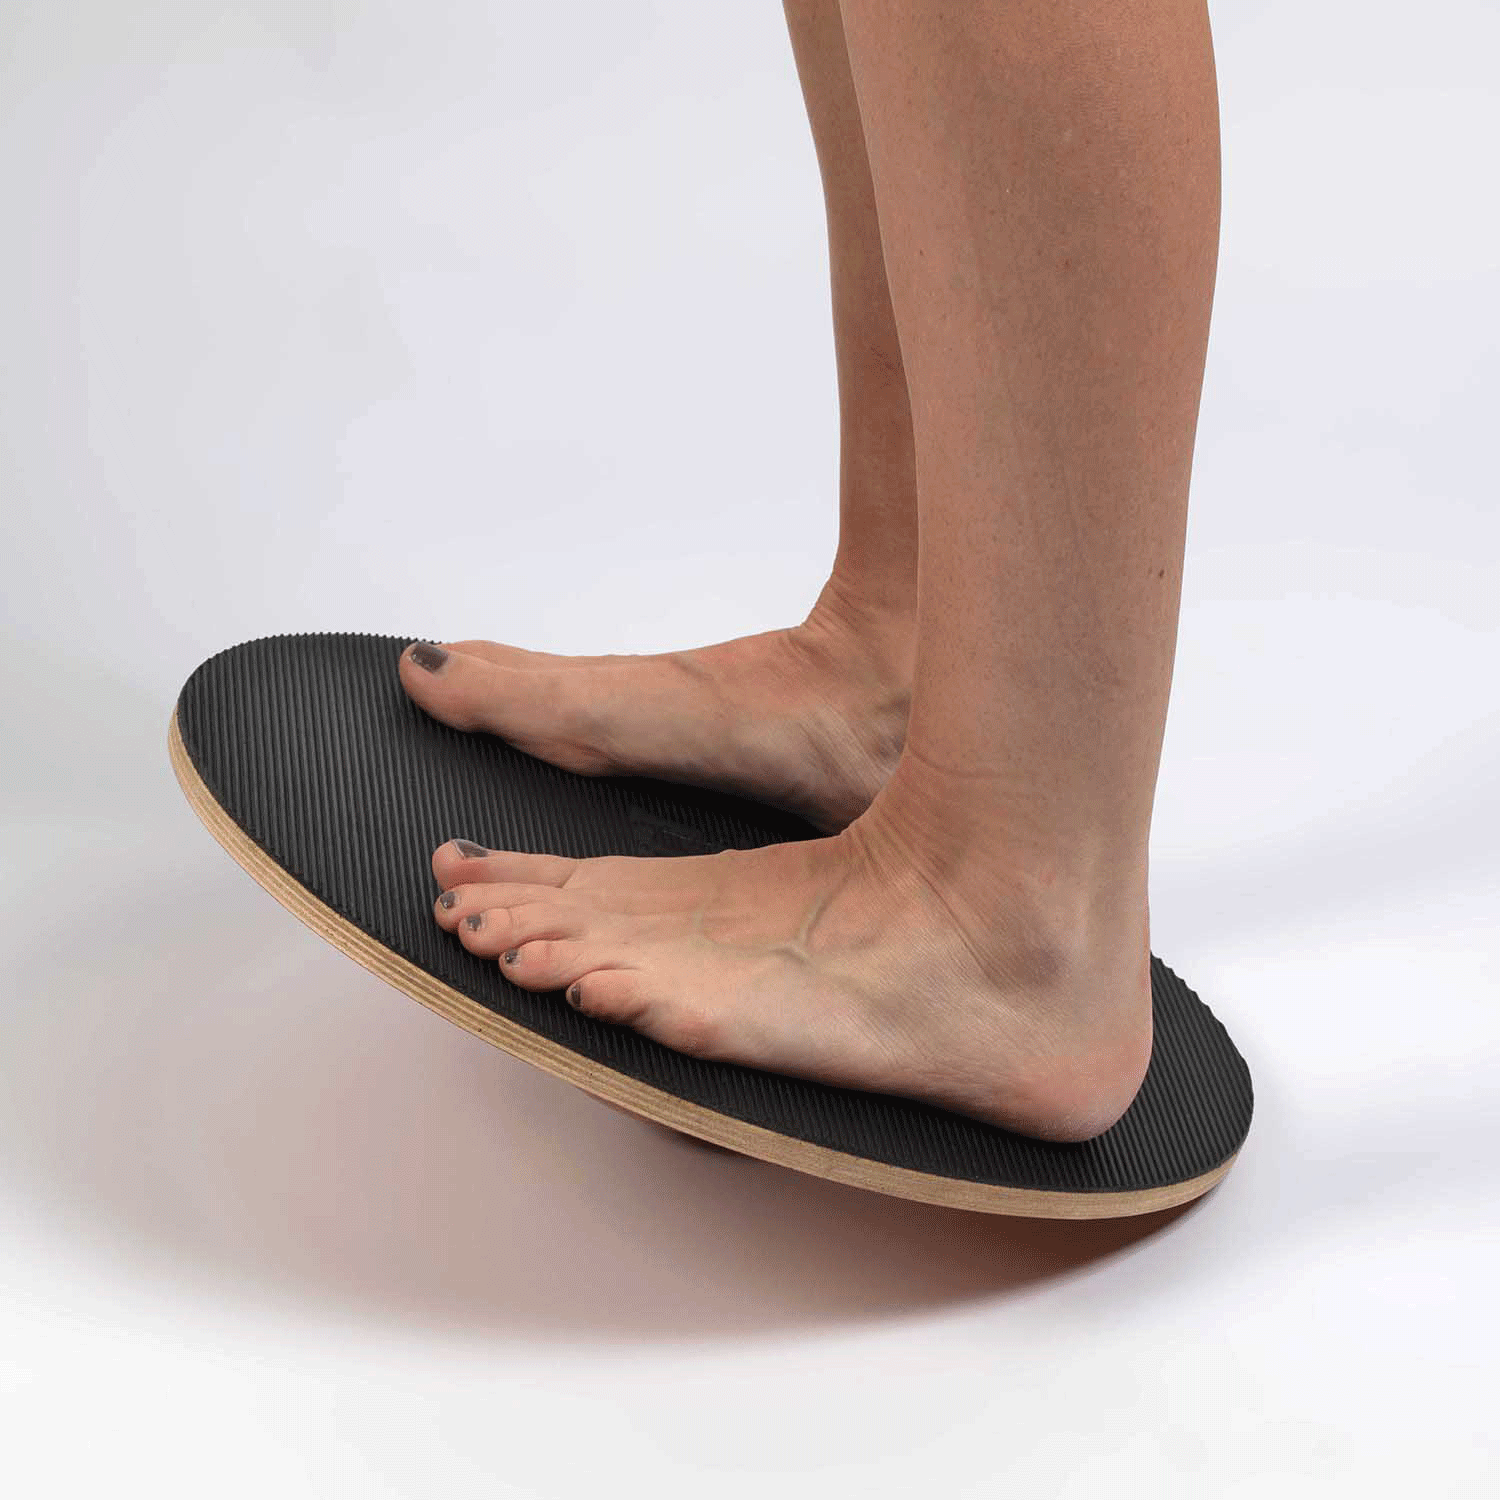
Take of socks and footwear, proprioception is everything when exercising on a balance board.
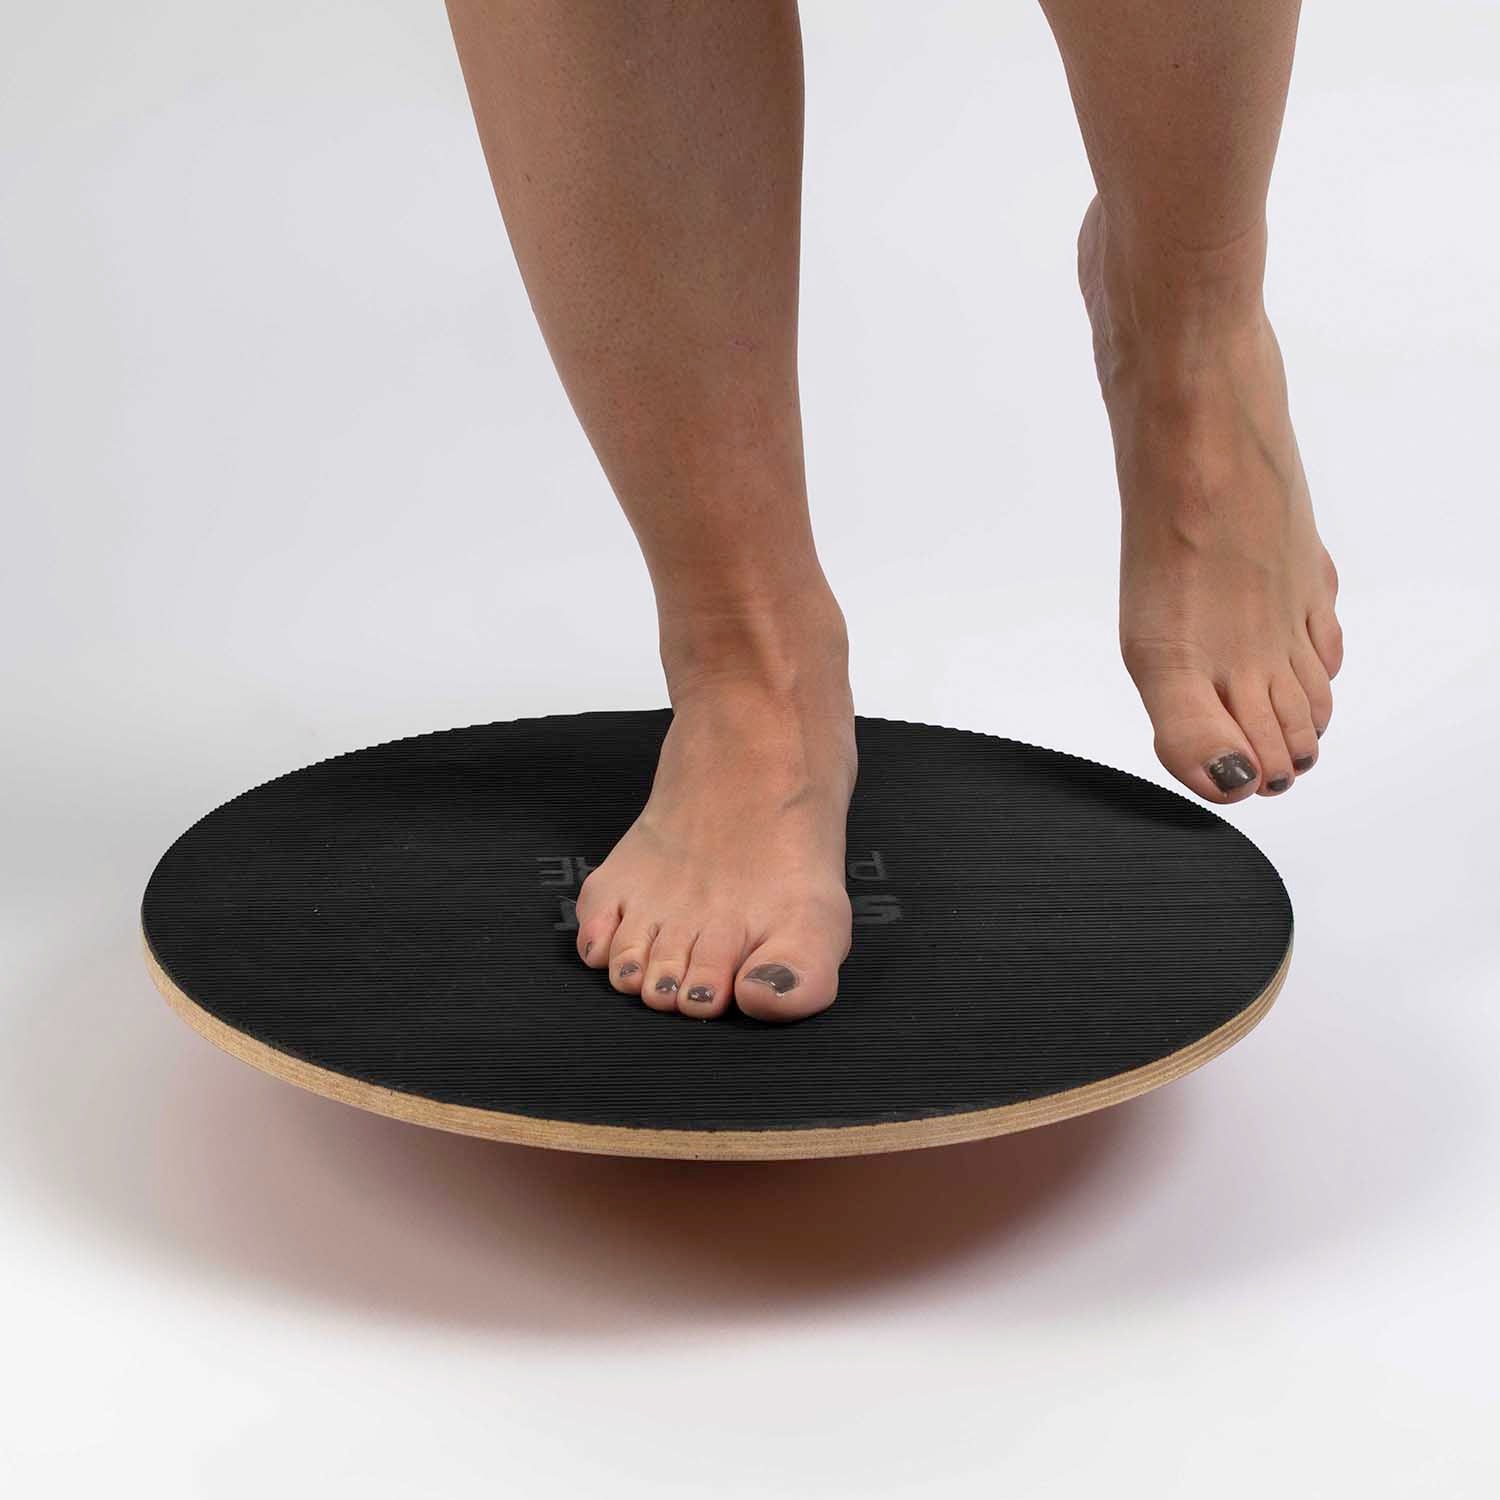
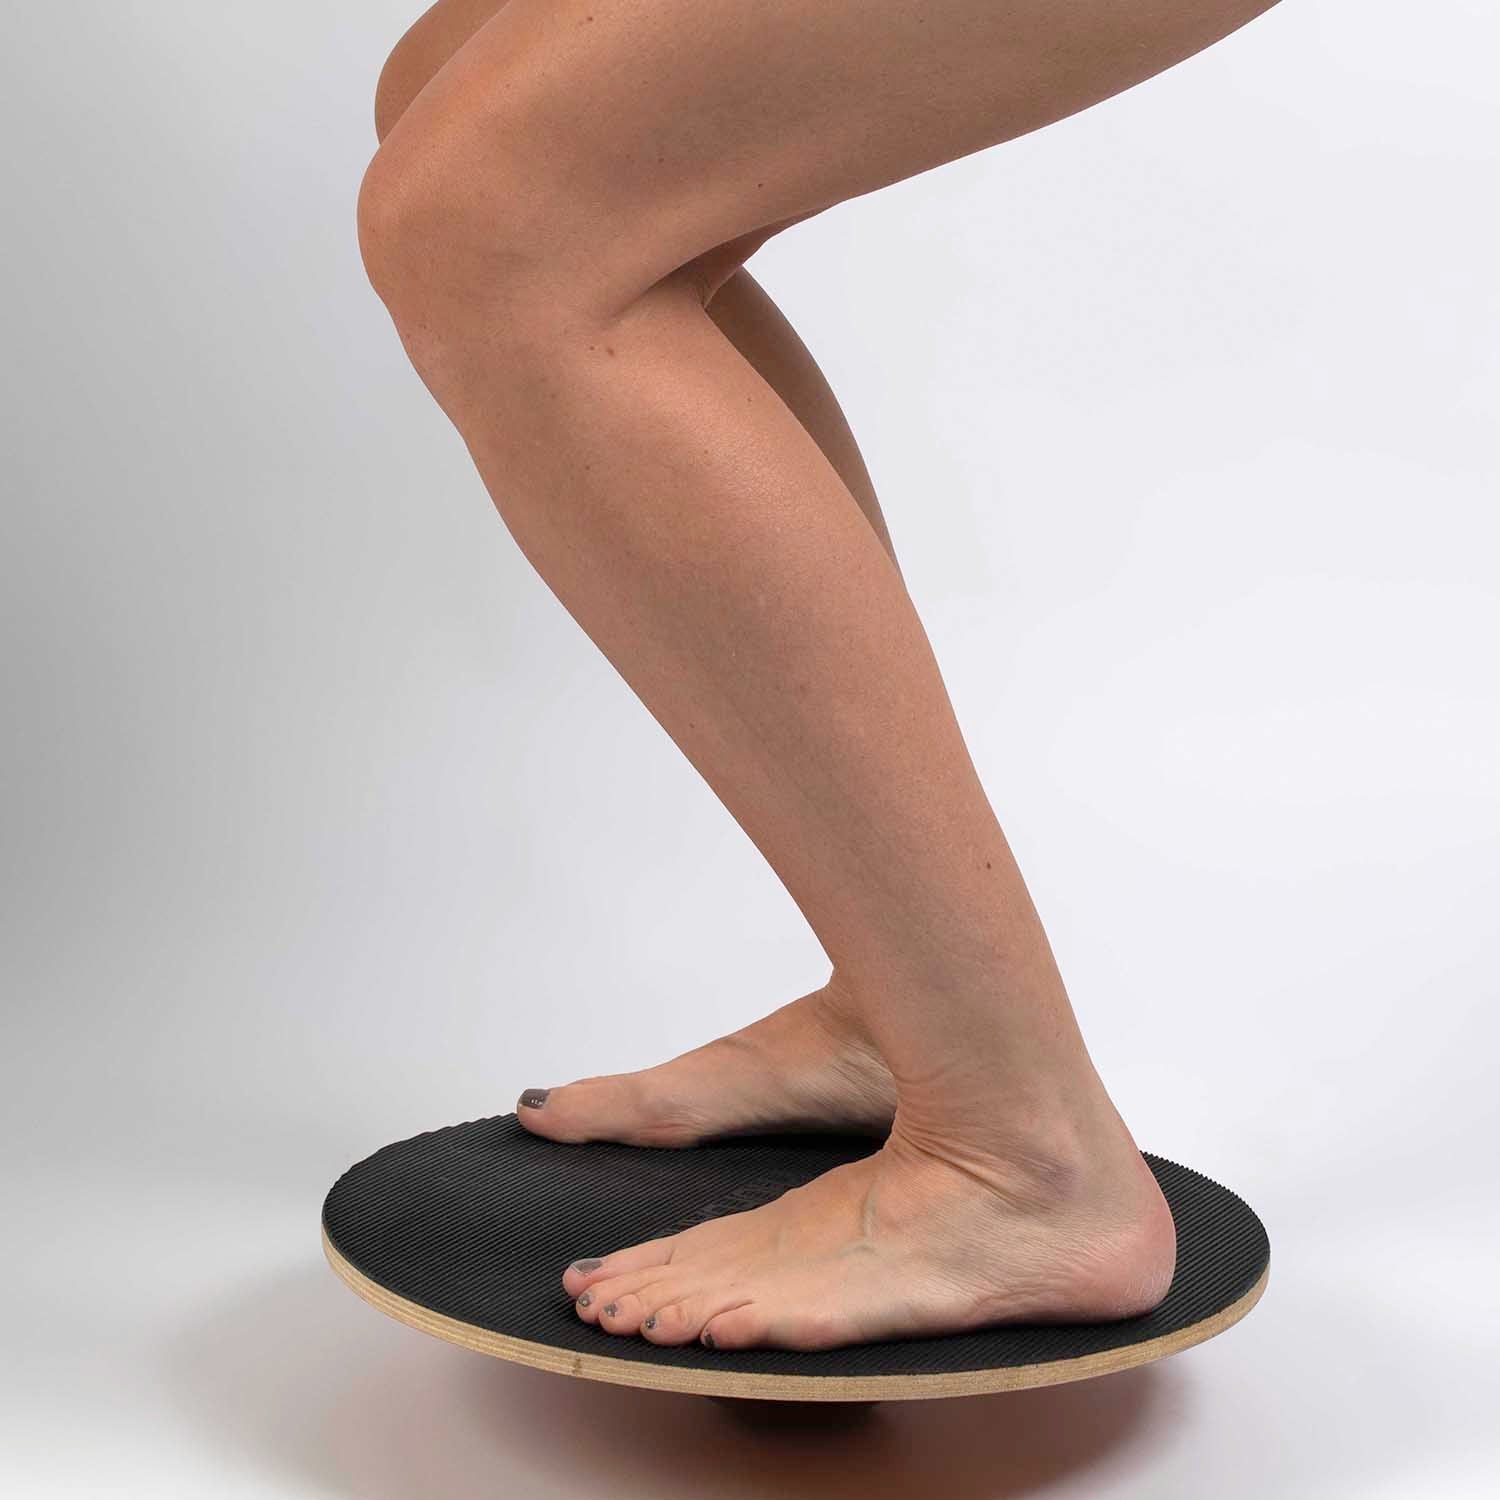
1. One leg - static stand
Stand with one leg, slightly bend, centralized on the balance board. The exercise should be re-started when one side of the board hits the ground. For beginners, it’s allowed to seek support with one finger or a complete hand at a counter – phase out the support the better you get. Shift towards you opposite leg after three trials to failure.
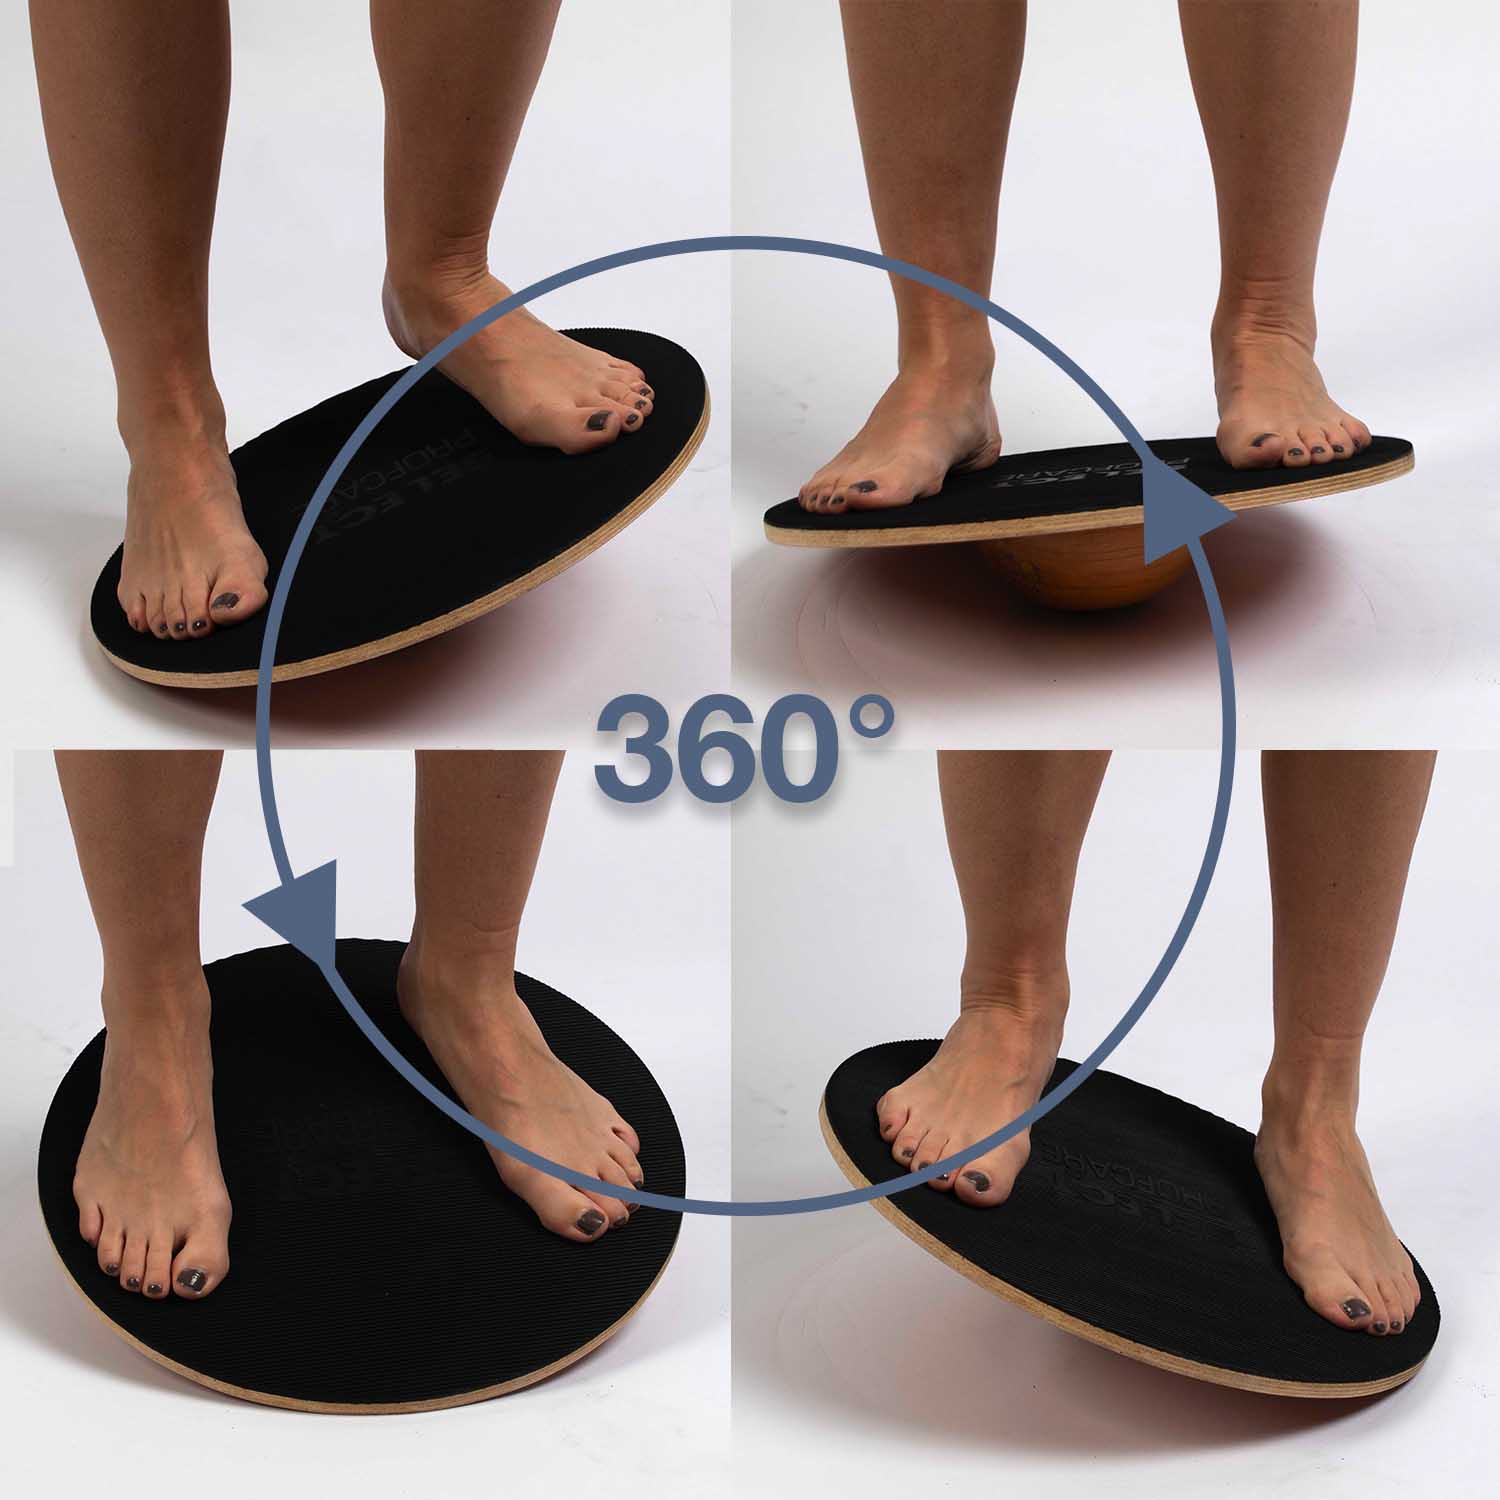
2. The ABC - dynamical movement
This exercise is divided into three sections, take your time – don’t rush it.
A
Stand with parallel feet on the balance board and slide to the right and left. Shift your balance and bend your hip and knees accordingly.
B
ame parallel position, this time shift your balance forward and backwards – bend your knees slightly. For exercise A and B, 20 repetitions at every board dip, should be enough.
C
Stand with parallel feets, bend your knees slightly and push the
board down towards the ground – from here you should roll the board 360 degrees around while being stable and in control. Board edges should constantly be in contact with the ground. Let your ankles, hip and knees work their magic. 10 times “around the world” is recommended.
3. Squat - balance and strength
In this exercise it’s allowed to support your balance with one finger or a hand on a counter – remember to phase it out the better you get. Stand with parallel feets on the board and squat down into 90 degree position. Remember to do it controlled – speed is not your friend. 10 repetitions is good.
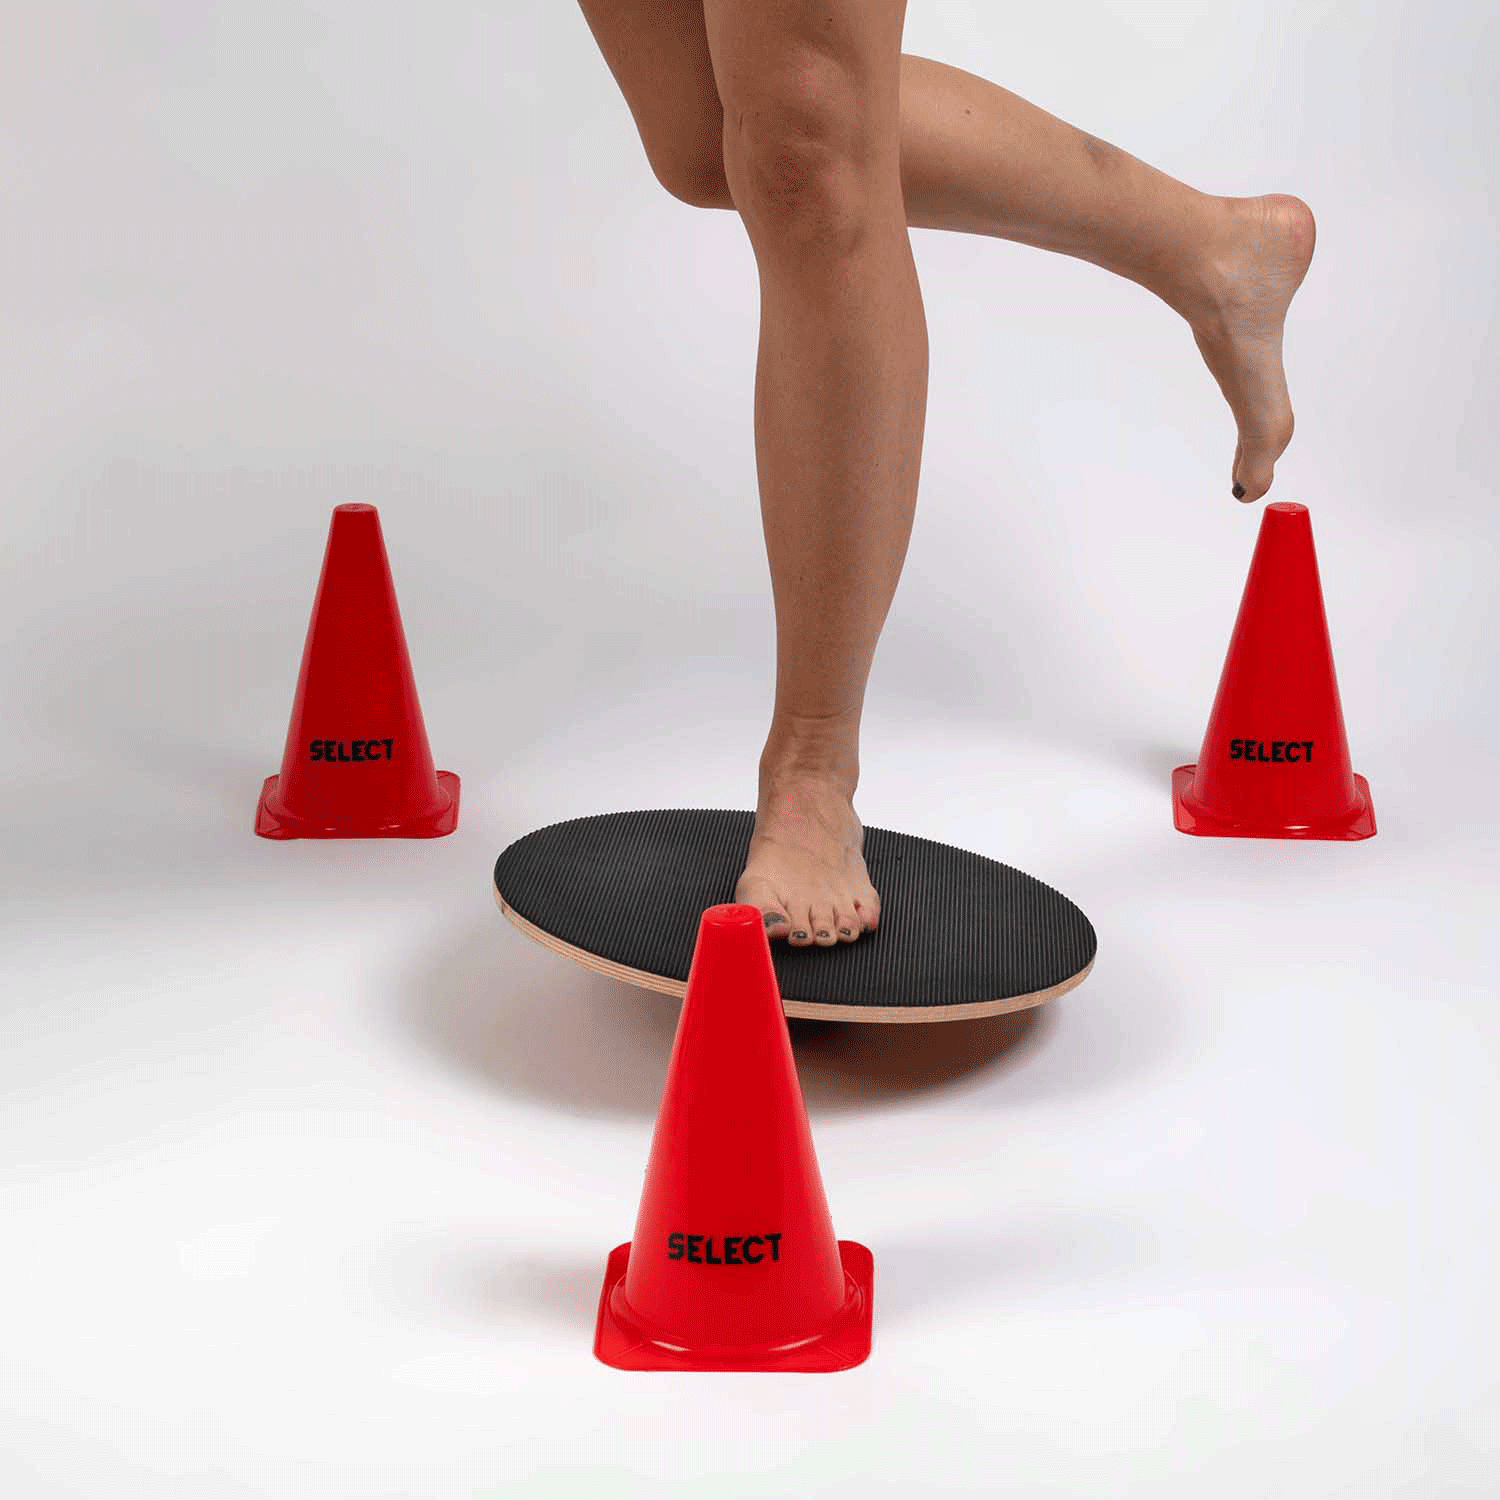
4. Y balance - final level
In this exercise you’ll combine all skills adapted in the previous challenges. You’ll also need three cones, markers or pointers – anything can be adaptable in your gym, locker-room or at home. Stand with one leg, centralized on the board and knee slightly bend. Find your balance and use your opposite leg as an extension. Try to reach all three cones without failing your balance. Mission accomplished, when all three cones have been touched on both legs.
Enjoy!